Roll Your Own: Easy Labneh Balls with Mediterranean Herbs
Imagine a creamy, tangy, and utterly addictive cheese spread that's not only incredibly versatile but also astonishingly simple to make right in your own kitchen. We're talking about labneh, the beloved Middle Eastern yogurt cheese that’s rapidly gaining popularity worldwide. While delicious served as a dip, transforming your homemade labneh into elegant labneh balls, rolled in aromatic Mediterranean herbs and preserved in rich olive oil, elevates it to an art form. This guide will walk you through creating these delightful morsels, bursting with bold, fresh flavors perfect for any occasion.
Once you discover how effortlessly you can make this delicacy from scratch, you’ll wonder why you didn't embark on this culinary adventure sooner. Not only is it budget-friendly, but making your own also offers unparalleled customization, allowing you to tailor the texture and flavor to your exact preference. So, get ready to dive into the world of homemade labneh and craft these irresistible labneh balls.
What Exactly is Labneh, and Why Make it at Home?
Labneh, often spelled lebneh or labne, is a thick, fresh cheese that is a staple across the Middle East. Its texture is akin to a rich cream cheese, yet its flavor boasts the distinctive tanginess of Greek yogurt, creating a truly unique profile. Far more than just a dip, labneh can be spread, used as a base for intricate flavor combinations, or, as we'll explore, rolled into beautiful, bite-sized balls.
The magic of labneh lies in its simplicity: it’s essentially just strained yogurt. While similar to Greek yogurt, labneh undergoes a much longer straining process—often strained twice as long—to remove more of the whey, resulting in a significantly thicker and denser consistency. This lengthy straining is what differentiates it from its close cousins and gives it its signature body and tartness. For a deeper dive into what makes this yogurt cheese so special, you might enjoy reading our detailed explanation: Labneh Explained: Thicker Than Yogurt, Better Than Cream Cheese.
Making labneh at home isn't just a culinary trend; it's a step towards healthier, more flavorful eating. Here's why you should consider making it yourself:
- Unbeatable Freshness: There's no comparison to the taste of freshly made labneh, free from preservatives and artificial additives.
- Cost-Effective: With just one main ingredient – yogurt – homemade labneh is significantly cheaper than its store-bought counterparts.
- Customization: You control the consistency (strain longer for thicker labneh) and can experiment with different types of yogurt (full-fat for richness, Greek for convenience).
- Probiotic Benefits: Made from cultured yogurt, labneh retains all the beneficial probiotics that support gut health, making it a delicious way to nourish your body.
- Simple Process: Despite its gourmet appeal, the actual effort involved is minimal, making it accessible to even novice home cooks.
The Simple Art of Crafting Homemade Labneh
Before you can roll those beautiful labneh balls, you need to master the base: homemade labneh. The process is incredibly straightforward, requiring minimal active time and just a handful of essentials.
What You'll Need:
- Yogurt: The star ingredient! Opt for natural, plain, full-fat yogurt for the richest flavor and best yield. Greek yogurt also works wonderfully and can speed up the straining process due to its initial thickness. Avoid yogurts with added sugars, flavors, or thickeners. As a rule of thumb, 2 kg (approximately 70 oz) of yogurt will yield about 1 kg (35 oz) of labneh.
- Salt: Just a pinch. Salt helps draw out moisture and enhances the overall flavor.
- Cheesecloth or Nut Milk Bag: Essential for straining. A few layers of cheesecloth or a sturdy nut milk bag will effectively separate the whey from the yogurt solids.
- Strainer/Sieve: To hold the cheesecloth.
- Large Bowl or Jar: To collect the whey as it drains.
Step-by-Step Labneh Making:
- Prepare the Yogurt Mixture: In a bowl, gently stir the yogurt with a pinch of salt. The amount of salt is to your taste, but a quarter to a half teaspoon per kilogram of yogurt is a good starting point.
- Set Up for Straining: Line your strainer or sieve with several layers of cheesecloth or place your nut milk bag inside. Position this over a large bowl or jar, ensuring there’s enough space for the whey to drip without the bottom of the cheesecloth touching the collected liquid. You can also tie the corners of the cheesecloth and suspend it from a cupboard knob with the bowl underneath.
- Pour and Strain: Carefully pour the salted yogurt mixture into the prepared cheesecloth.
- Patience is Key: Allow the yogurt to strain for at least 6 hours at room temperature, or preferably overnight (8-12 hours) in the refrigerator. For a very thick, almost cream cheese-like consistency perfect for rolling into balls, you can strain it for up to 24 hours. The longer it strains, the thicker your labneh will be.
- Harvest Your Labneh: Once sufficiently strained, gently unwrap your thick, creamy labneh from the cheesecloth. You’ll be left with a substantial amount of tangy, nutrient-rich whey in the bowl below. Don't discard this! Whey is excellent for adding to smoothies, baking, or even fermenting vegetables.
For more detailed insights into perfecting your base, check out our comprehensive guide: Mastering Homemade Labneh: Your Easy One-Ingredient Guide.
Transforming Your Homemade Labneh into Flavorful Balls
Now for the fun part: turning your luxurious homemade labneh into exquisite labneh balls! This step not only creates a visually appealing presentation but also allows you to infuse them with a kaleidoscope of Mediterranean flavors and preserve them beautifully.
Ensuring Optimal Consistency:
Before rolling, make sure your labneh is firm enough to hold its shape. If it's too soft, it means it hasn't strained long enough. Simply return it to the cheesecloth and continue straining for a few more hours until it reaches a desired, scoopable consistency that can be easily rolled without sticking excessively to your hands.
Mediterranean Herb & Spice Blend Ideas:
The beauty of labneh balls lies in their versatility. You can coat them in virtually any dry seasoning blend, but traditional Mediterranean flavors truly shine. Here are some popular and delicious options:
- Za'atar: This classic Middle Eastern blend (thyme, sumac, sesame seeds) offers an earthy, tangy, and nutty flavor profile. It's a must-try.
- Sumac: Known for its vibrant red hue and delightful lemony tang, sumac adds a bright, zesty note.
- Dried Mint: A refreshing and aromatic choice that pairs wonderfully with the tanginess of labneh.
- Dried Oregano: Classic Mediterranean herb, lending a warm, slightly peppery aroma.
- Chili Flakes: For those who enjoy a subtle kick, a sprinkle of red chili flakes adds a pleasant warmth.
- Finely Crushed Pistachios: Offers a delicate sweetness and a lovely textural contrast.
- Black Sesame Seeds: Provides a striking visual contrast and a subtle nutty crunch.
- Herbes de Provence: A French-inspired blend (thyme, rosemary, oregano, marjoram, savory, lavender) that brings a fragrant, rustic touch.
Tip: Don't be afraid to mix and match! A blend of za'atar and dried mint, or sumac with a touch of chili, can create truly unique flavors.
The Rolling Process:
- Prepare Your Coatings: Spread your chosen herbs and spices on separate shallow plates or bowls.
- Scoop the Labneh: Using a small spoon, a melon baller, or your hands, scoop out uniform portions of labneh. Aim for sizes roughly the diameter of a large olive or cherry tomato for ideal bite-sized portions.
- Shape the Balls: Gently roll each portion between your palms to form smooth, round balls. If the labneh is too sticky, slightly dampen your hands with water or a tiny bit of olive oil.
- Coat Generously: Roll each labneh ball firmly in your chosen herb mixture until it's evenly coated on all sides. Gently press the herbs onto the ball to ensure they adhere well.
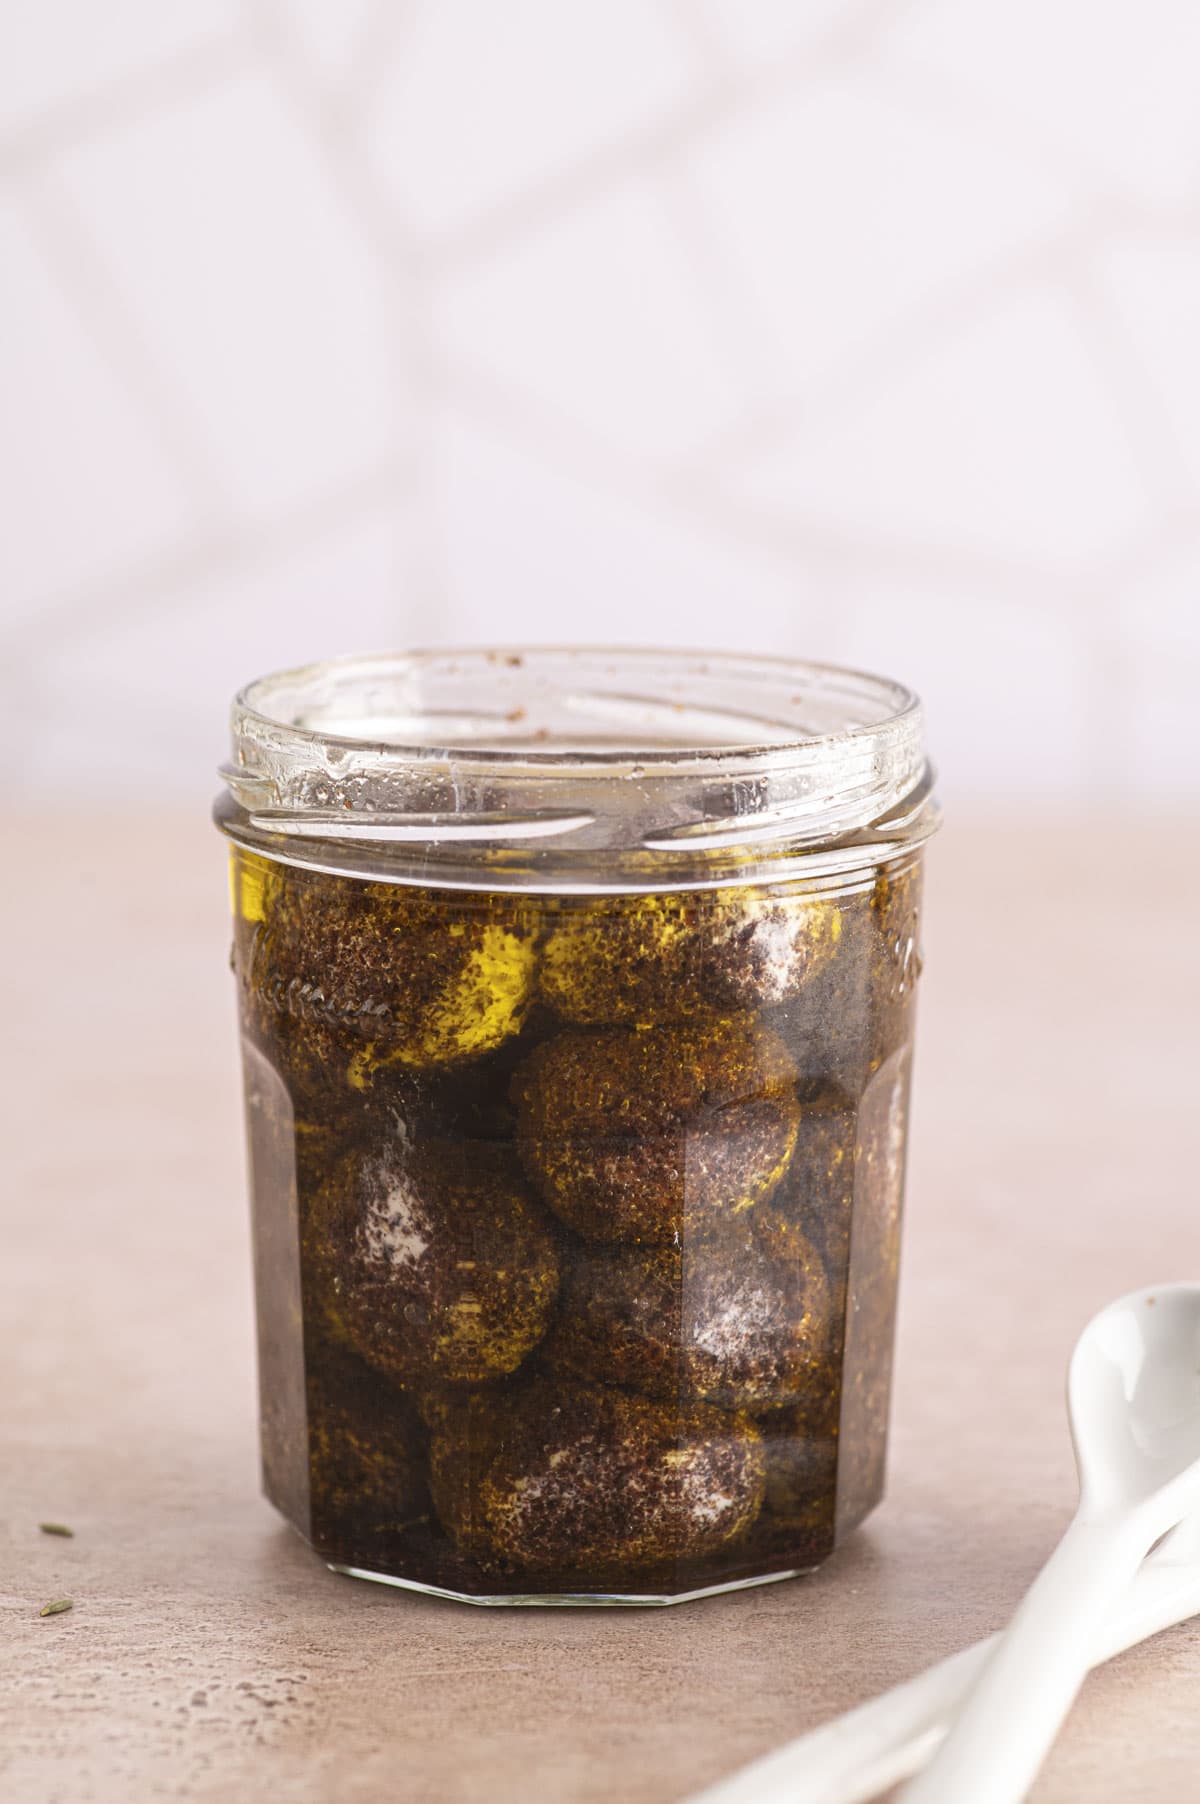
Preservation and Storage in Olive Oil:
Once rolled, these labneh balls are traditionally preserved in extra virgin olive oil. This not only keeps them fresh for longer but also infuses them with the rich, fruity notes of the oil, while the labneh subtly flavors the oil in return – a delightful bonus!
- Prepare Jars: Sterilize clean glass jars with tight-fitting lids.
- Arrange Balls: Carefully place the coated labneh balls into the jars, ensuring they fit snugly but aren't crushed. You can layer different flavored balls in the same jar for an attractive mosaic.
- Cover with Olive Oil: Pour high-quality extra virgin olive oil over the labneh balls until they are completely submerged. Make sure there are no air pockets.
- Store: Seal the jars and store them in the refrigerator. The labneh balls will keep well for up to two weeks, possibly even longer, continually marinating and developing flavor. Always ensure they remain fully covered by olive oil.
Creative Ways to Enjoy Your Labneh Balls:
These flavorful gems are incredibly versatile and can elevate a variety of dishes:
- Mezze Platter Essential: Arrange them on a platter with warm pita bread, fresh vegetables like cucumber and tomato, olives, and hummus for an authentic Middle Eastern spread.
- Salad Topping: Crumble or halve them over a fresh green salad, fattoush, or a lentil salad for a creamy, tangy protein boost.
- Breakfast or Brunch: Serve alongside scrambled eggs, crusty bread, fresh herbs, and a drizzle of honey for a sweet and savory twist.
- Appetizer Skewers: Thread them onto small skewers with cherry tomatoes and fresh basil leaves for an elegant bite.
- Sandwich or Wrap Filling: Mash them slightly and use them as a flavorful spread in sandwiches or wraps.
Conclusion
From a simple tub of yogurt to elegant, herb-crusted labneh balls preserved in golden olive oil, this journey is a testament to how easy and rewarding homemade food can be. This Middle Eastern delicacy offers a unique blend of creamy texture and tangy flavor, enhanced by the aromatic embrace of Mediterranean herbs. Whether you’re preparing a sophisticated appetizer, looking for a healthy snack, or simply preserving a batch of homemade labneh, these flavorful balls are sure to impress. So, roll up your sleeves, embrace the tang, and enjoy the delicious experience of crafting your very own easy labneh balls!
